


During this time, when so many need our help, I’ve decided to use my sewing skills to make protective masks for health care workers across the country, and I’m not alone.
Our local sewing community has been stepping up in a big way churning out hundreds of protective masks. So for those of you who are beginner sewers and want to make a mask too, this tutorial is just for you. It will show you how to sew a simple protective mask in five easy steps.
First things first, wash your hands and disinfect work surfaces!
Supplies:
- One 15x8 panel of any tightly woven cotton fabric
- Two seven inch pieces of elastic about 1/4th of an inch wide — if you don't have any elastic on hand then two hair ties will work too
- One twist tie
- Sewing Pins
- Ruler, or tape measure
- Scissors and a sewing machine
Step 1
Pin a 1/2 inch seam to the back of both ends of the fabric and then sew down each side.
Step 2
Take your twist tie and insert it into the open end of your seam, center it, then sew a vertical topstitch at each corner to prevent the nose guard from slipping out of place.
Step 3
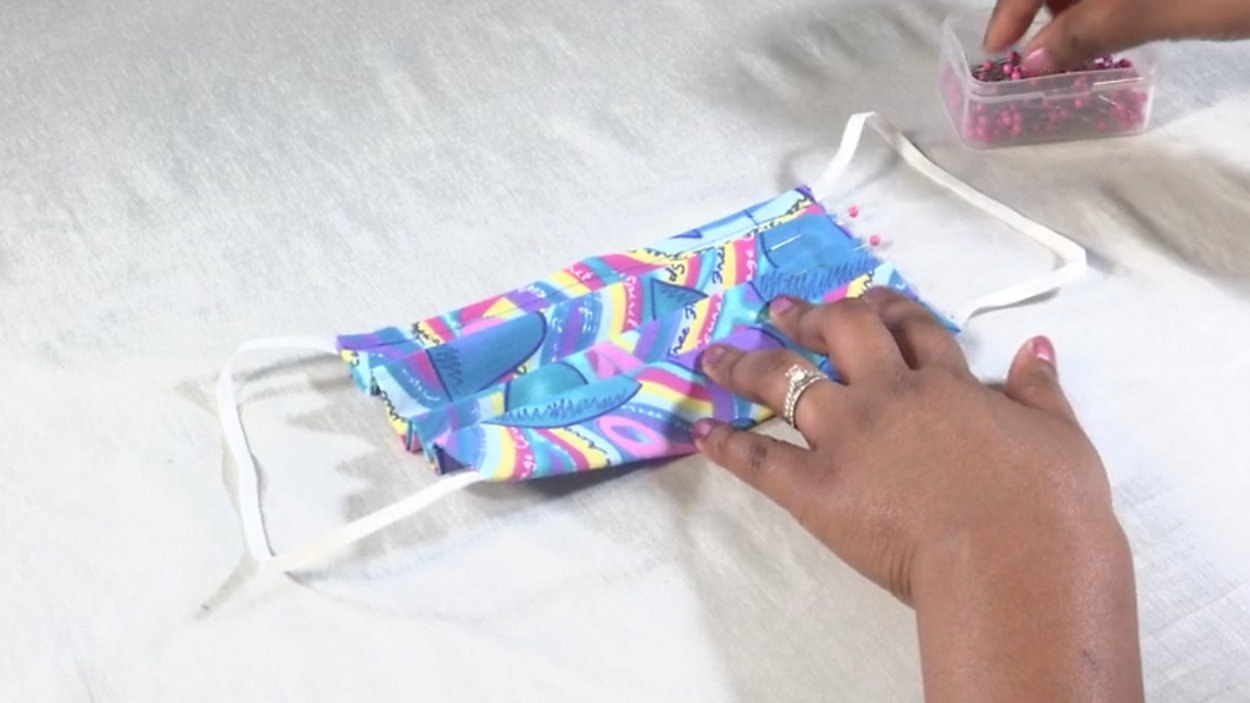
Pin your elastic to the inside corners of your mask, fold together and sew down each side.
Step 4
Flip mask right side out and make and vertical 1inch top stitch to both pieces of fabric, remembering to leave about a five-inch opening for you filter insert.
Step 5
Fold three upwards pleats, pin, and topstitch both sides down.
And you're done!

Don’t forget that pocket you made in the mask — that’s where you can add a replaceable filter to the inside pocket for that added barrier of protection. The filter can be cut from a HEPA air filter sheet (non-fiberglass) or a coffee filter.
This is not designed to substitute for a medical-grade mask, but it will give you a certain level of protection from outside germs.
Major thanks to all our doctors, nurses, caregivers, and first responders. We know you are working overtime to keep us safe and we all appreciate it.