

*Note: Our Project Weather School lessons should always have parental supervision.
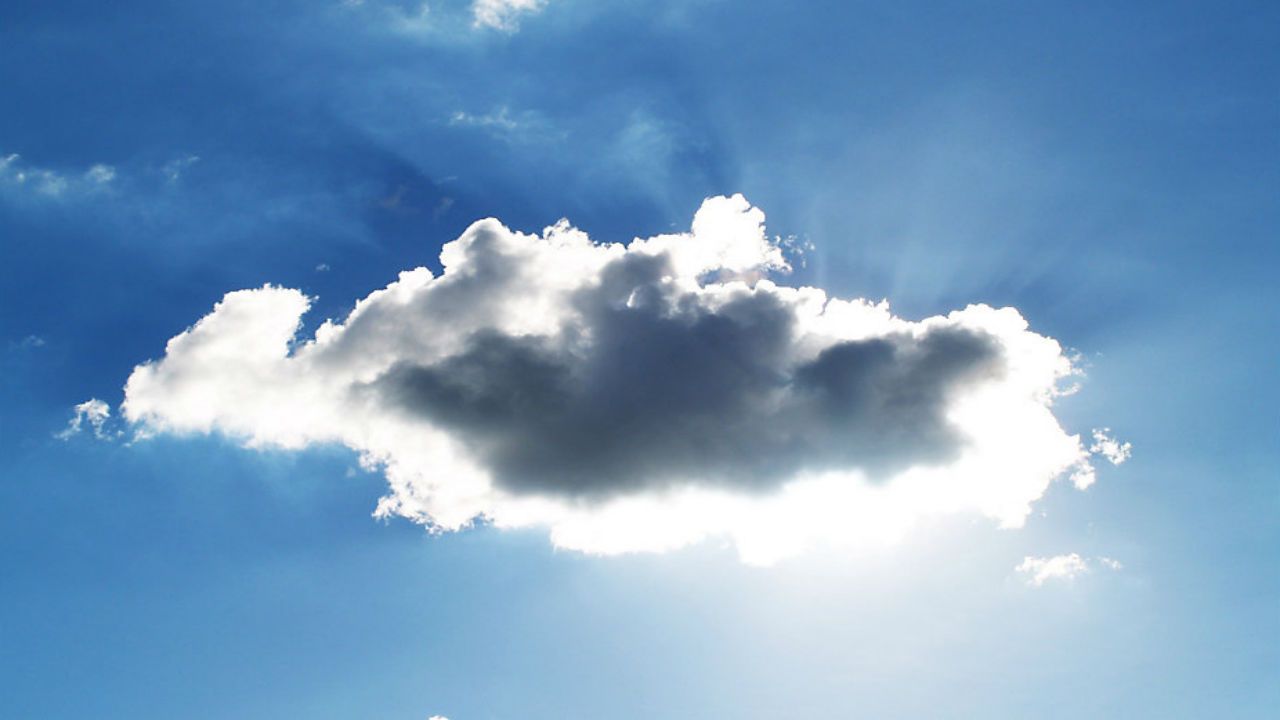
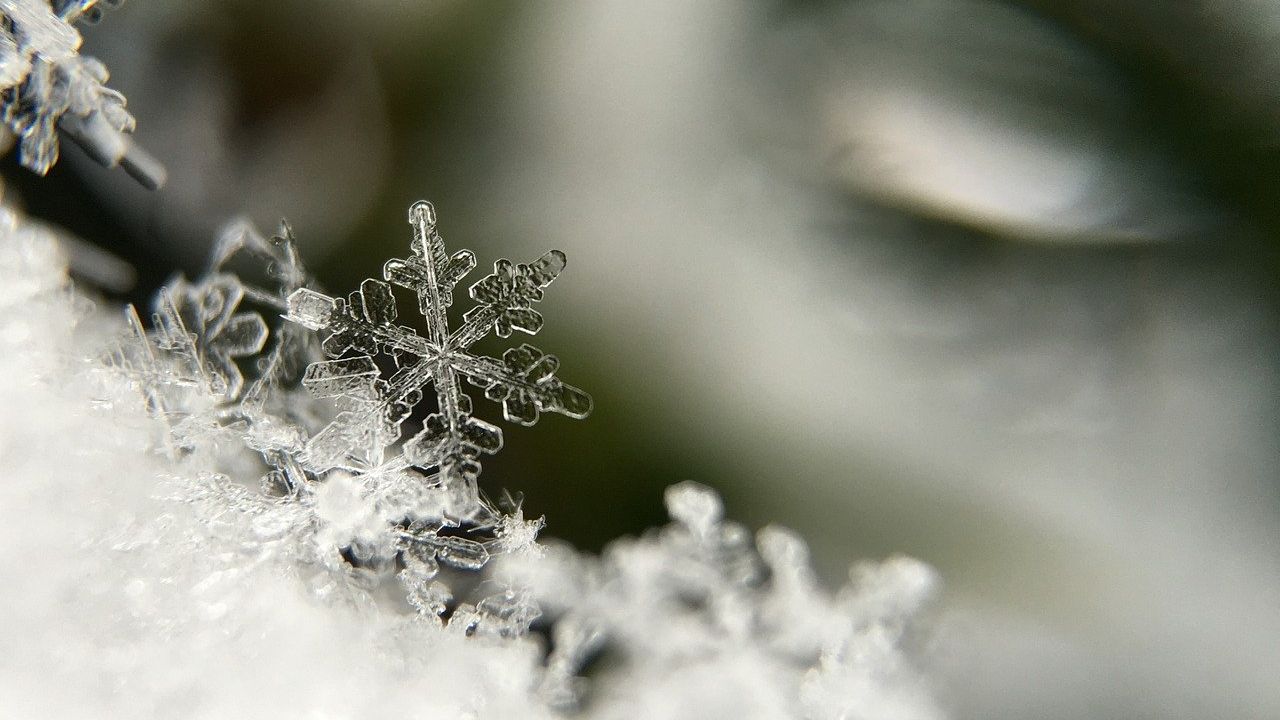
Snowflakes are one of nature’s most beautiful creations. None look the same, yet they are all so similar. They are yet another reason to give Mother Nature a pat on the back.
A typical snowflake structure contains six sides owing to the way in which they form. The molecules in ice crystals join to one another in a hexagonal structure. Off those initial six sides, many branches and needles form creating the unique looks you see under a microscope or when you catch them on your sleeve in the winter time.
Different temperatures also control what the final snowflake may look like. Below, I inserted a famous chart that meteorologists and scientists use to study the development of snow and its makeup. Each developing branch or needle helps to tell the snowflake’s story of how they came to be.

Making these snowflakes is a quick, easy, and impressive experiment that will have your children talking for a while! Even as parents, I think the growth rate will shock you.
For this experiment you will need:
- Borax detergent
- A pencil
- Pipe cleaners
- Boiling water
- Blue food coloring
- A mason jar
To start, have your children bend various pipe cleaners into different shaped snowflakes. In order to discuss the science behind it, try to get them to have six different sides. This is another great way to insert creativity into science, as each snowflake will look different, just like outside! The only rule in creating the snowflake is to make sure that it will fit in the top of your mason jar as that is key in growing the flake.

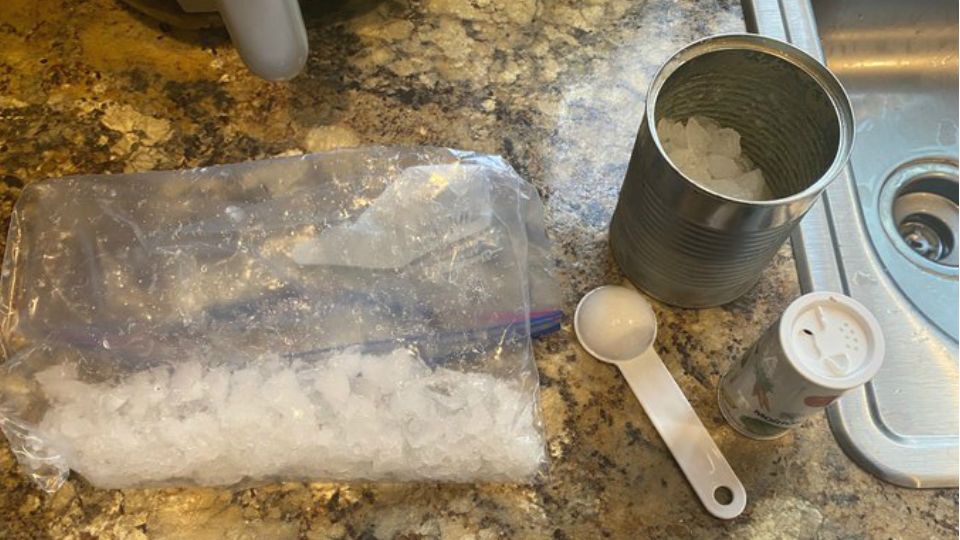
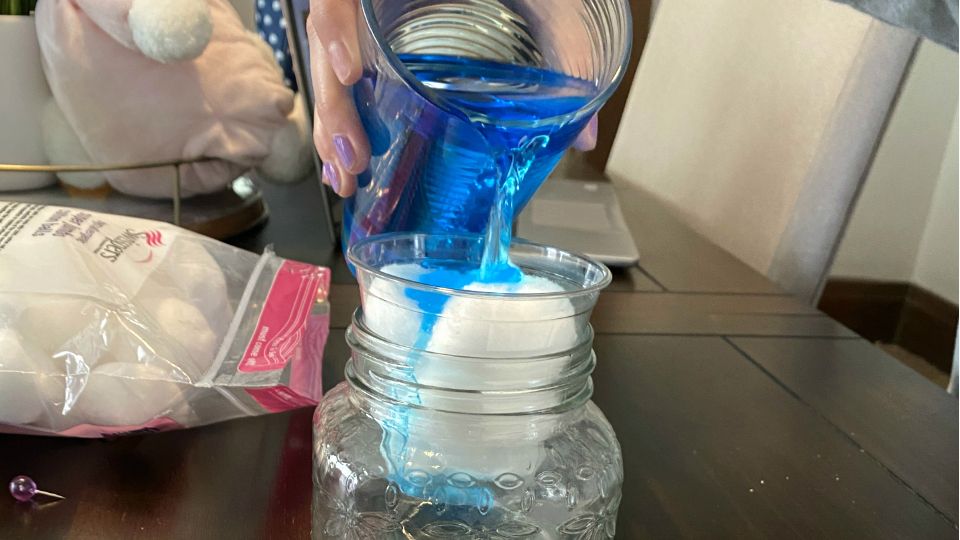
Next, measure out 1/3 cup of Borax detergent. Parents you may want to get involved here as breathing in or touching Borax can be toxic. Put the detergent in your mason jar. Next, boil some water. Once boiling, poor the water into the mason jar. Again, parents would be helpful, especially with young children.

Stir the Borax and water together until most of the powder turns clear. Here is where you can add in blue food coloring to give the growing crystals a bit of color. This step is optional. If you prefer, you can have clear crystals growing over the color of the pipe cleaners. Take a pipe cleaner and attach it to the snowflake made of pipe cleaner. This will act as a string to suspend the pipe cleaner flake. On the other side, attach to a pencil that will lay across the mason jar. Lastly, insert the snowflake into the liquid. Make sure the pipe cleaner snowflake is not touching the bottom of the jar.

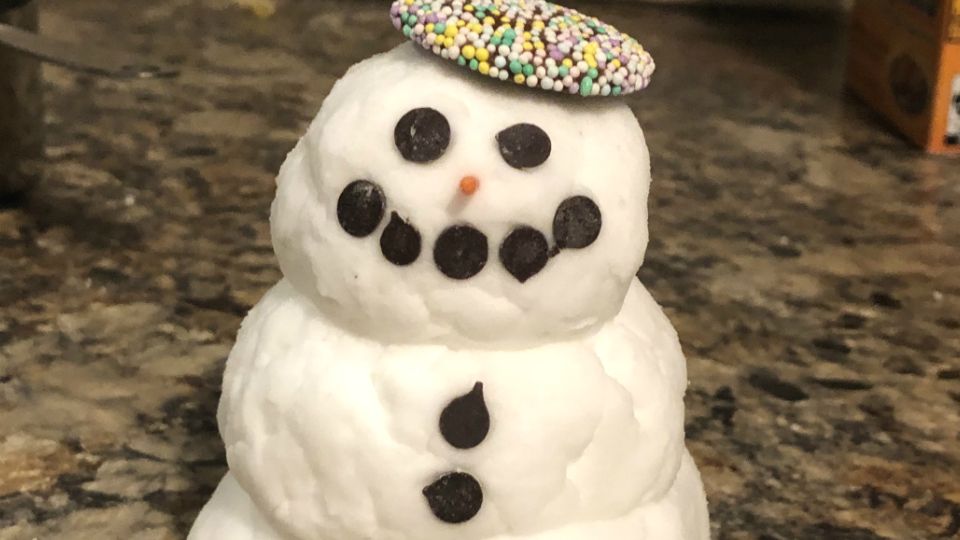
Leave the experiment for a minimum of 2 hours. The longer you leave the experiment, the better the results will be. At the end, you should have a beautiful snowflake. As long as these don’t get wet, they will last for a long time! These can be saved for decoration, a Christmas ornament, etc.
How does this work? When water is hot, the molecules inside move apart. That is how you can dissolve the Borax into it. Since you are putting more Borax than the water can hold, as the water cools down and the molecules move closer together again, the Borax begins to separate from the water. The Borax recrystallizes and will settle on the pipe cleaner.
Stay safe, stay curious, and have fun! Now, take the quiz below.